How to Eject the Optical Drive ODD Safely

What to do if you get a CD or DVD stuck in your computer’s optical drive and it won’t eject? You can take several steps to troubleshoot stuck DVDs or CDs
Computers are what they are, complex. Meaning, a stuck DVD could be one of several possible things. Sometimes it may be easy to fix. Sometimes, not so easy. The best thing to do is troubleshoot the problem.
What you should not do: Stick a screwdriver, pocket knife, credit card, or any other object into the DVD drive and try to pry it open or pull the disc tray out. When stuff doesn’t work right, I feel like tossing my computer across the room just as much as the next guy. But just don’t do it. Troubleshoot first.
Manually eject your computer CD / DVD drive tray >>>
There will be times when you need to open the tray on your computers CD / DVD drive when the system is powered off.
- You need to boot your computer using the CD / DVD drive
- You need to retrieve a disk without starting up the computer
- Caution: Turn off power to the system before manually ejecting a disk.
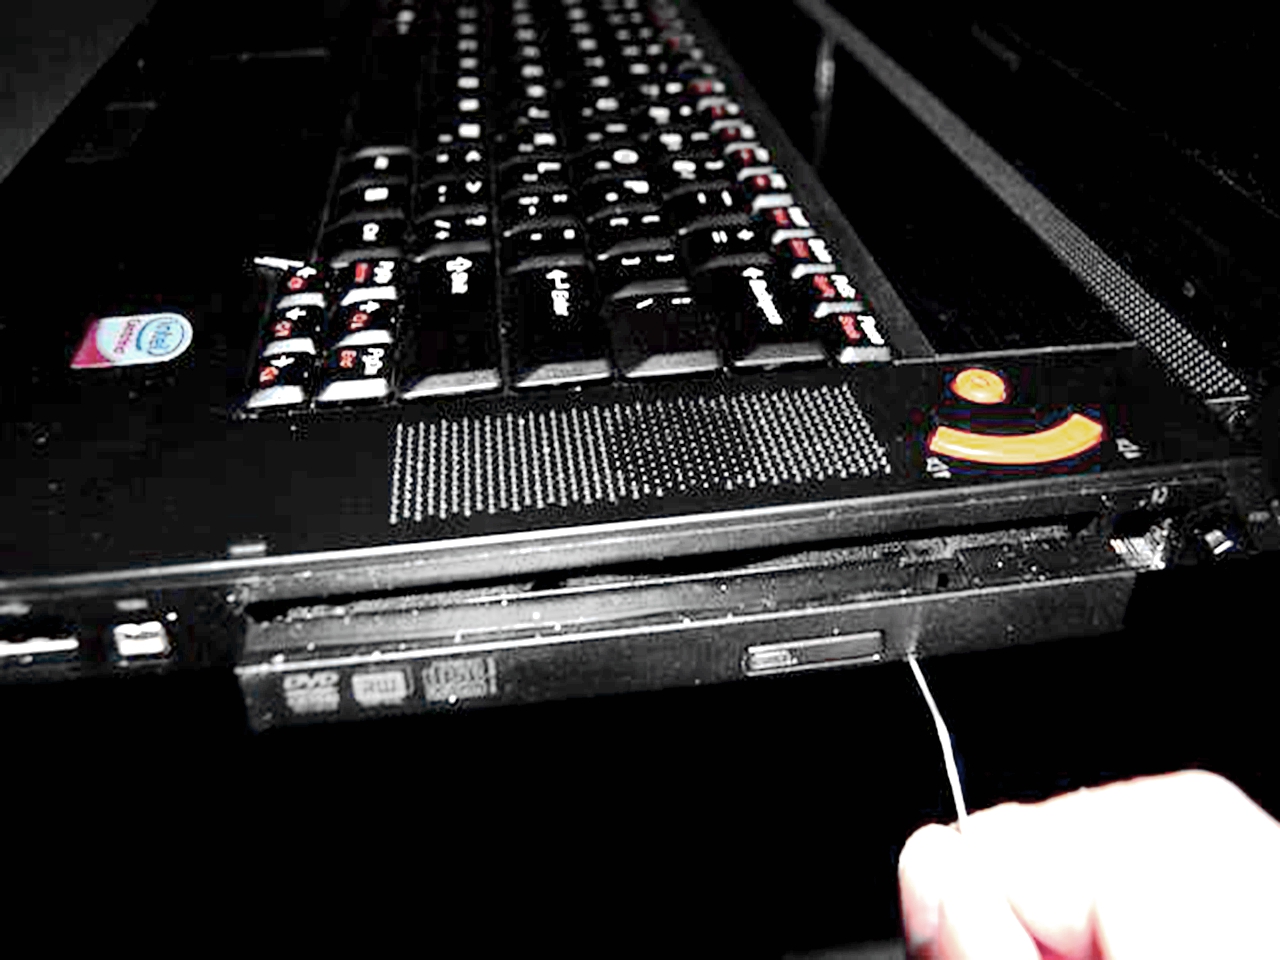
- All CD / DVD drives have an Eject Pin Hole.
Desktop CD / DVD drives:
Gently insert the modified paper clip into the Eject Pin Hole until you feel it make contact with the gear underneath the tray. Firmly pressing inward, you will notice the tray to start to move out. Press inward until you have enough room to get your finger under the tray and then pull it out the rest of the way. If you can only get a small portion of the tray out, you can use the other end of the paper clip to gently pry open the tray enough to get your finger under it. Once done, gently push back the tray to the closed position. It will close firmly when the system is powered up.
Laptop Optical Disk Drive:
- Insert the paperclip into the pinhole and push it in gently. Remove and reinsert the paperclip as often as needed to eject the drive bay enough to grab a hold of it.
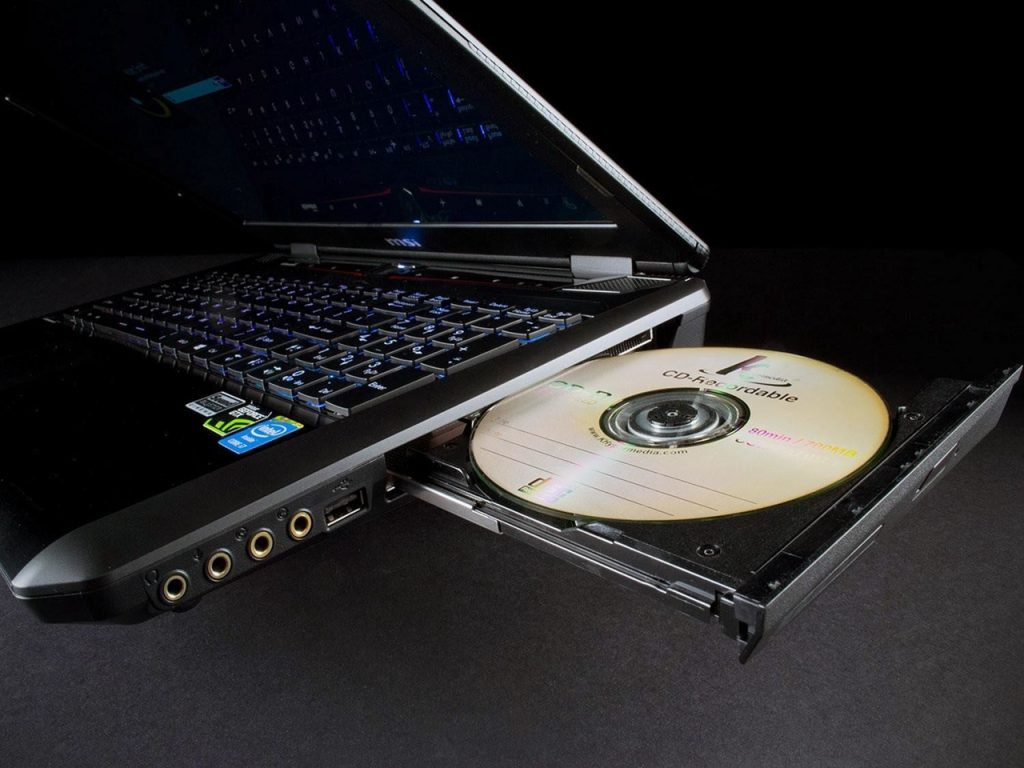
- Slowly pull on the drive bay until it’s fully retracted. Take care not to continue to pull if you feel any resistance. Press the Eject button again to close the tray. (Desktops only)
Manually eject the disc within System BIOS >>>
To better isolate if the issue is caused by the drive itself or some 3rd party application which may be causing the issue, you can try to eject the tray from within the System BIOS. To eject the tray within the System BIOS, follow these steps:
- Restart your computer and tap the F2 key while it is restarting.
- Once you are in the SystemBIOS screen, press the Eject button of your CD/DVD/Blu-ray drive. For instructions on where to find the Eject button on your computer.
- If the tray eject is successful within the System BIOS, restart the computer and boot into the Operating System.
In Windows 7/Vista/XP/2000, please follow these directions >>>
- Right-click on (My) Computer.
- Select Manage.
- Select Device Manager.
- Open Disk Drives.
- Double-click on the hard drive’s model number.
- Go to the Policies tab.
- Check whether the drive is set to Optimize for Quick Removal.
If so, the hard drive does not need to be Safely Removed manually from the system. Just turn off the hard drive or disconnect it at your convenience whenever the hard drive is not busy transferring data.
This way there is only a slim chance that the partition will be corrupted by a removal. This carries no risk for the drive hardware, but it does put your data at a small risk.
Note >>>
Please remember that you would be very unwise to put yourself in a situation where that is a concern for you. If this drive were to experience a sudden mechanical or electronic failure or if it should fall, or if the drive’s partition should become corrupted, your data could be lost and data recovery is very expensive. Remember that this is a backup drive, and a backup is defined as “a second copy of data in a second storage media”.
Whether on a second external hard drive, a CD or DVD, an internal hard drive, a network hard drive, or tape, make a 2nd copy of your data today and keep it.


